 Hello everyone. I usually keep a pretty busy schedule with my day job as an IT consultant, however, there’s just enough Iowa farm boy left in me to maintain a hobby in growing a little something to get my mind off the computer for a while. That something is Weaver’s clumping bamboo (or scientifically named: Bambusa textilis) in my backyard on the northwest side of Houston!
 It all started when I joined the Harris County Master Gardner’s Association back in the early 2000’s. While volunteering there, I was inspired by a giant bamboo plant growing at the back of the gardens. After talking with the County Extension Agent – Horticulture (and then to be future wife, Dr. Carol Cammack), she challenged me by stating how difficult it was to propagate! So, I took a couple root cuttings from the giant clumping bamboo plant, and began experimenting with producing bamboo in my suburban Houston backyard.
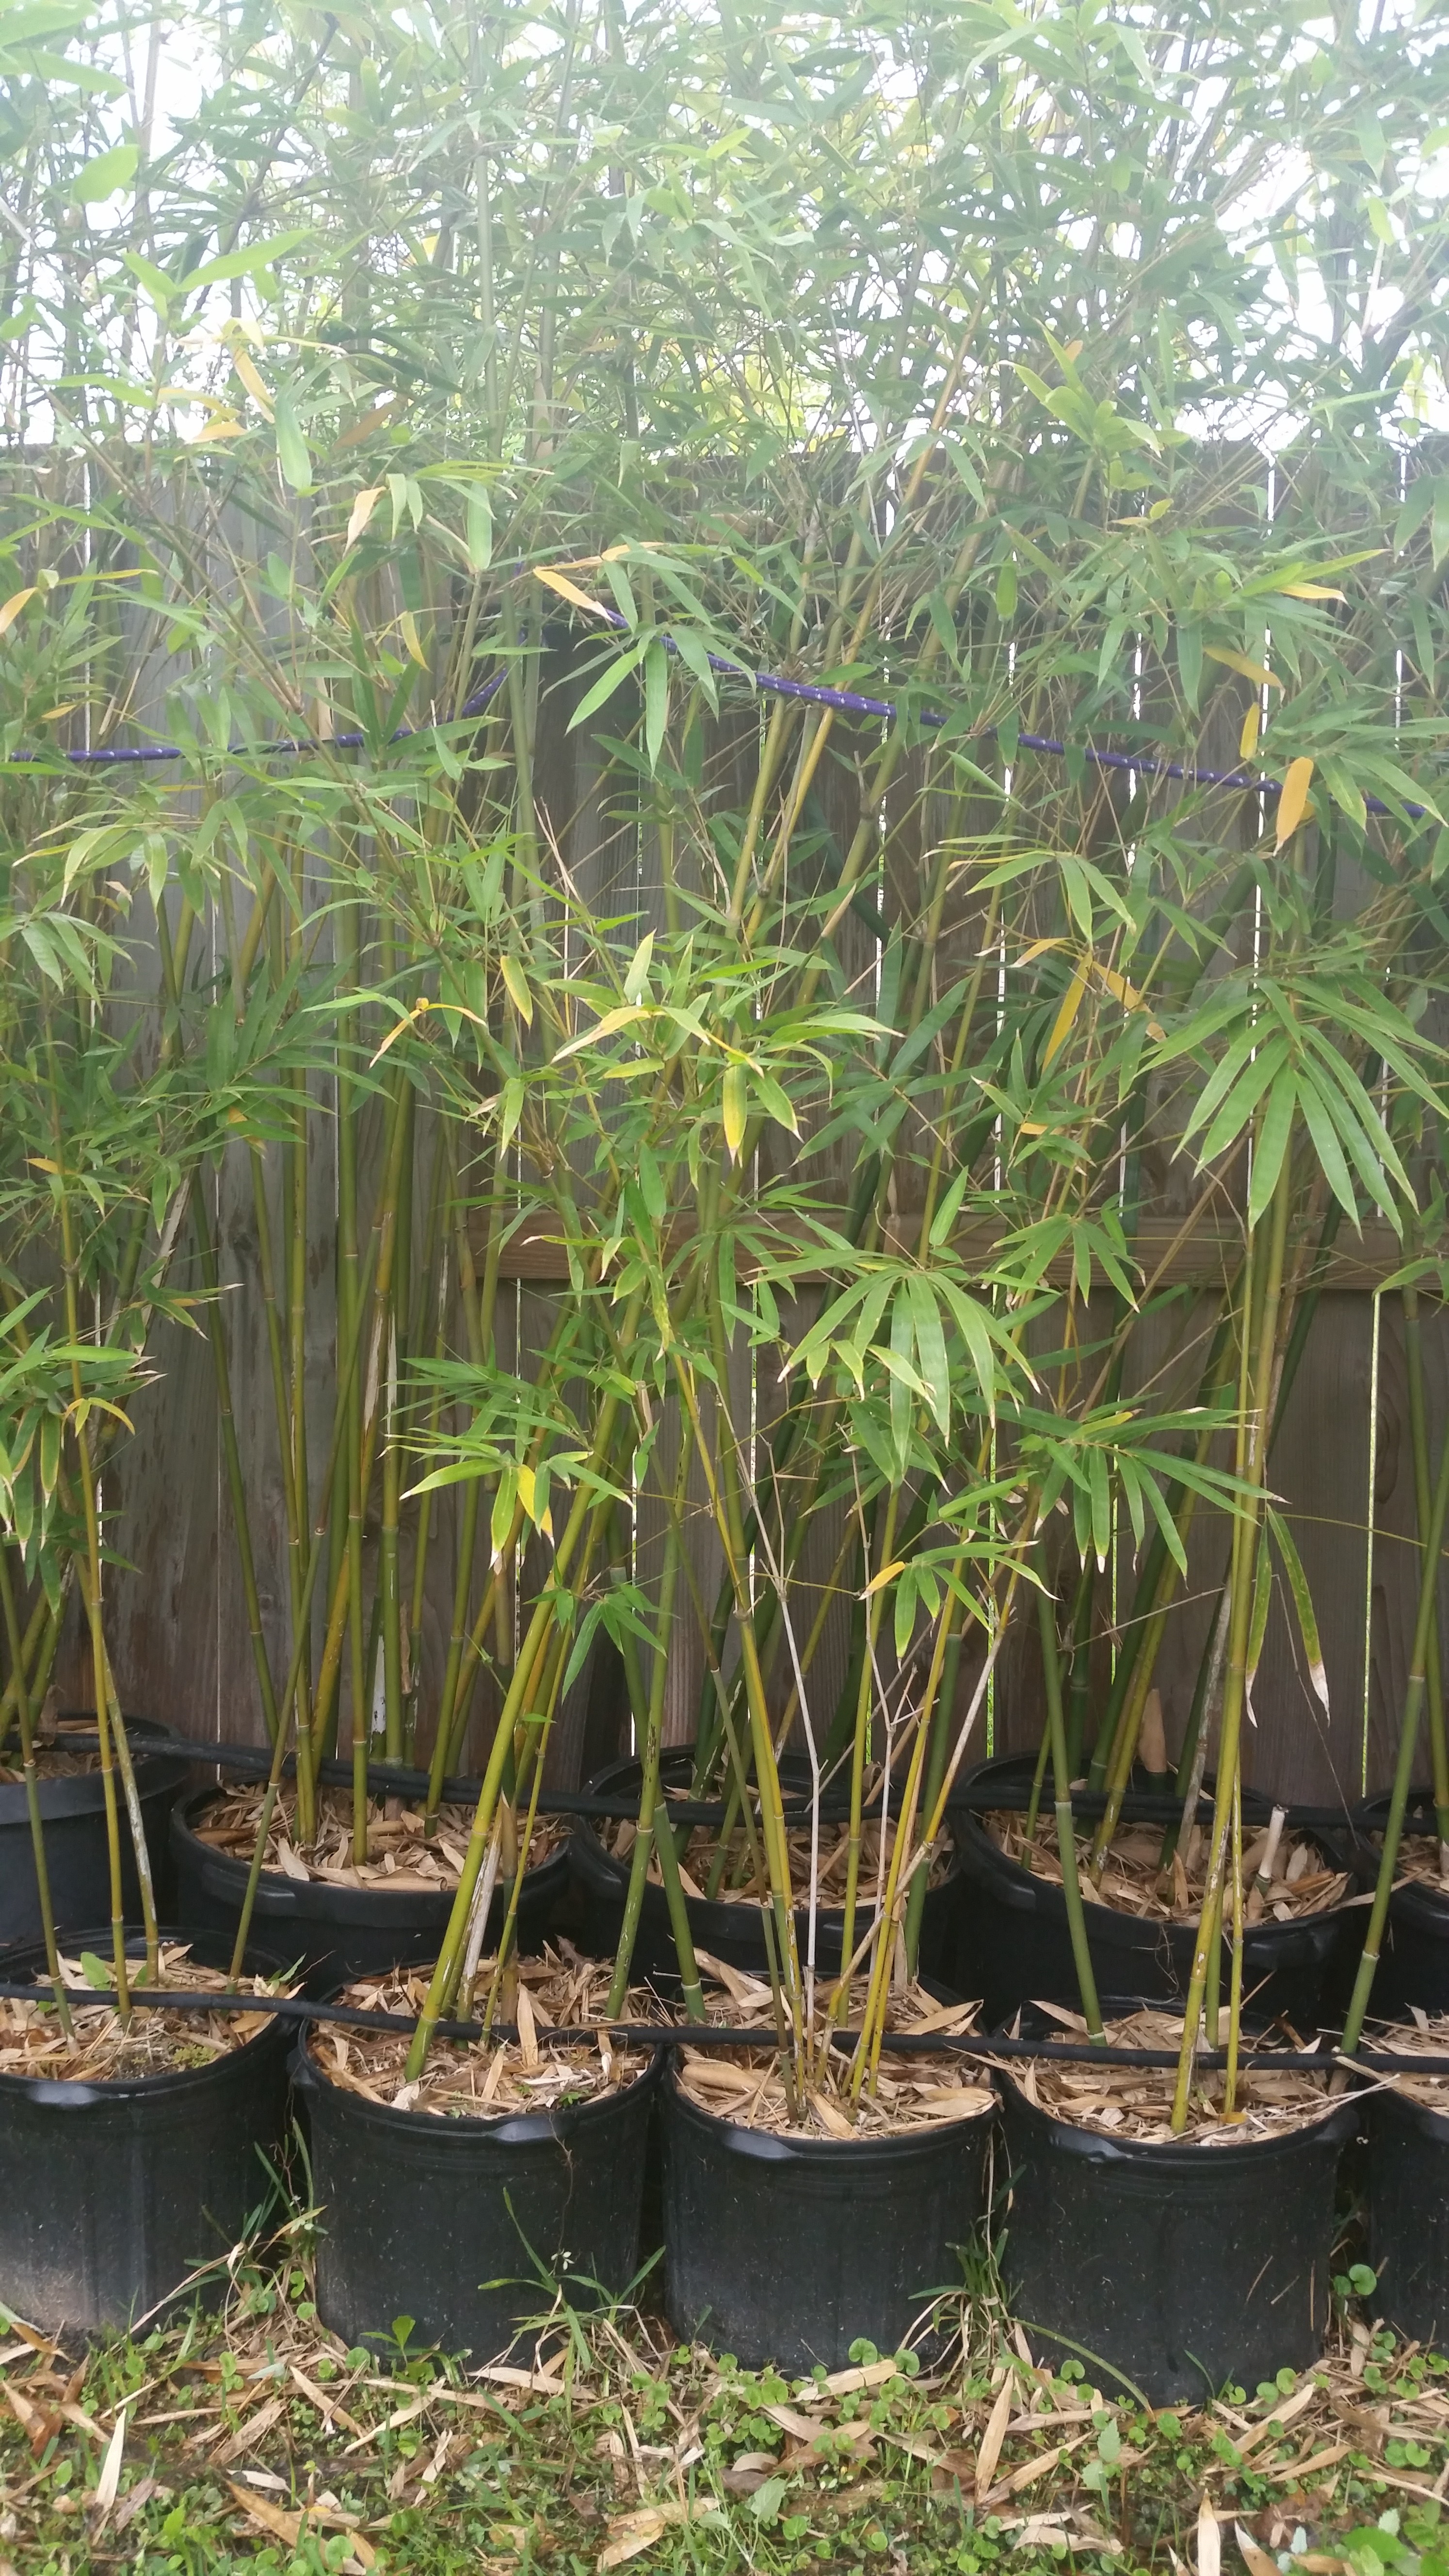
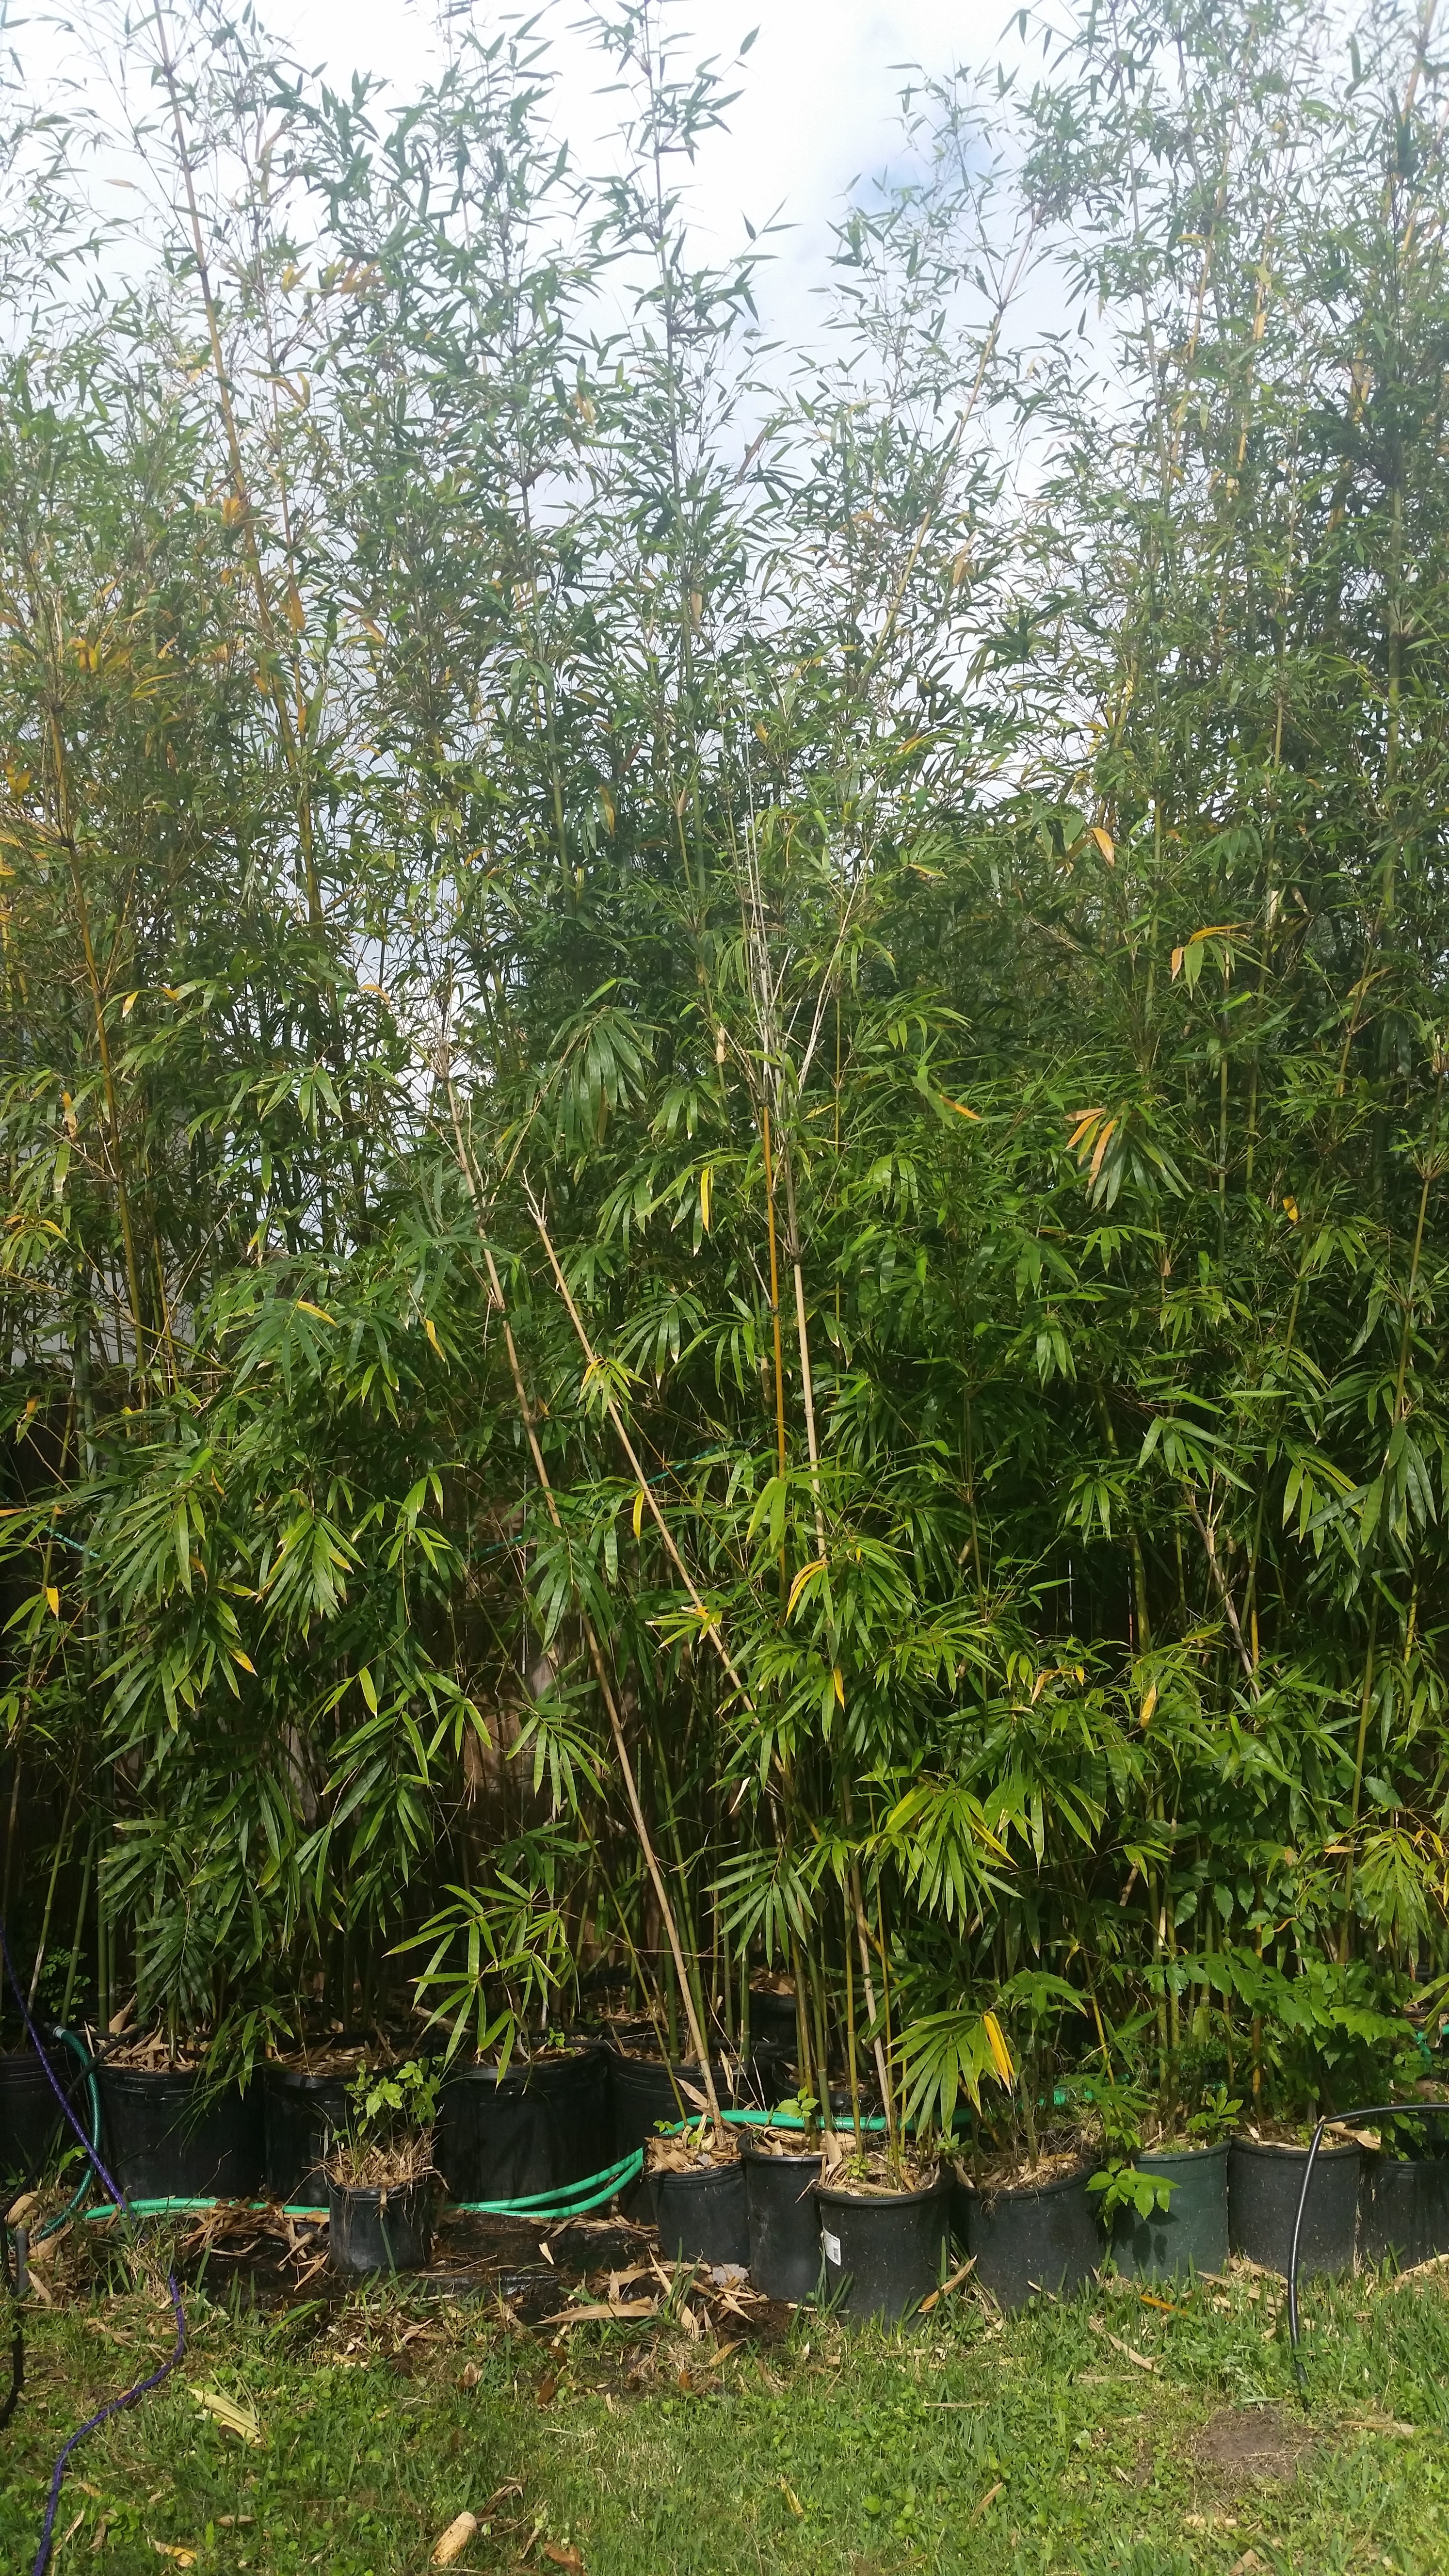
 It took several years of trial and error to perfect my method of propagating Weaver’s bamboo, but nevertheless, I’ve done a pretty good job of it. So much so, that my lovely wife, Carol, tells me it’s time to begin selling some of my surplus supply of the bamboo plants (or hint: she wants her backyard back!). That being the case, I’m now actively marketing the bamboo and have them available in various sized containers from 5 gallon all the way up to 50 gallon, mostly 10 to 15 gallon containers. I’m offering them up for sale at $10/gal., and would be willing to deliver them (around the Houston metro area) for a small fee.
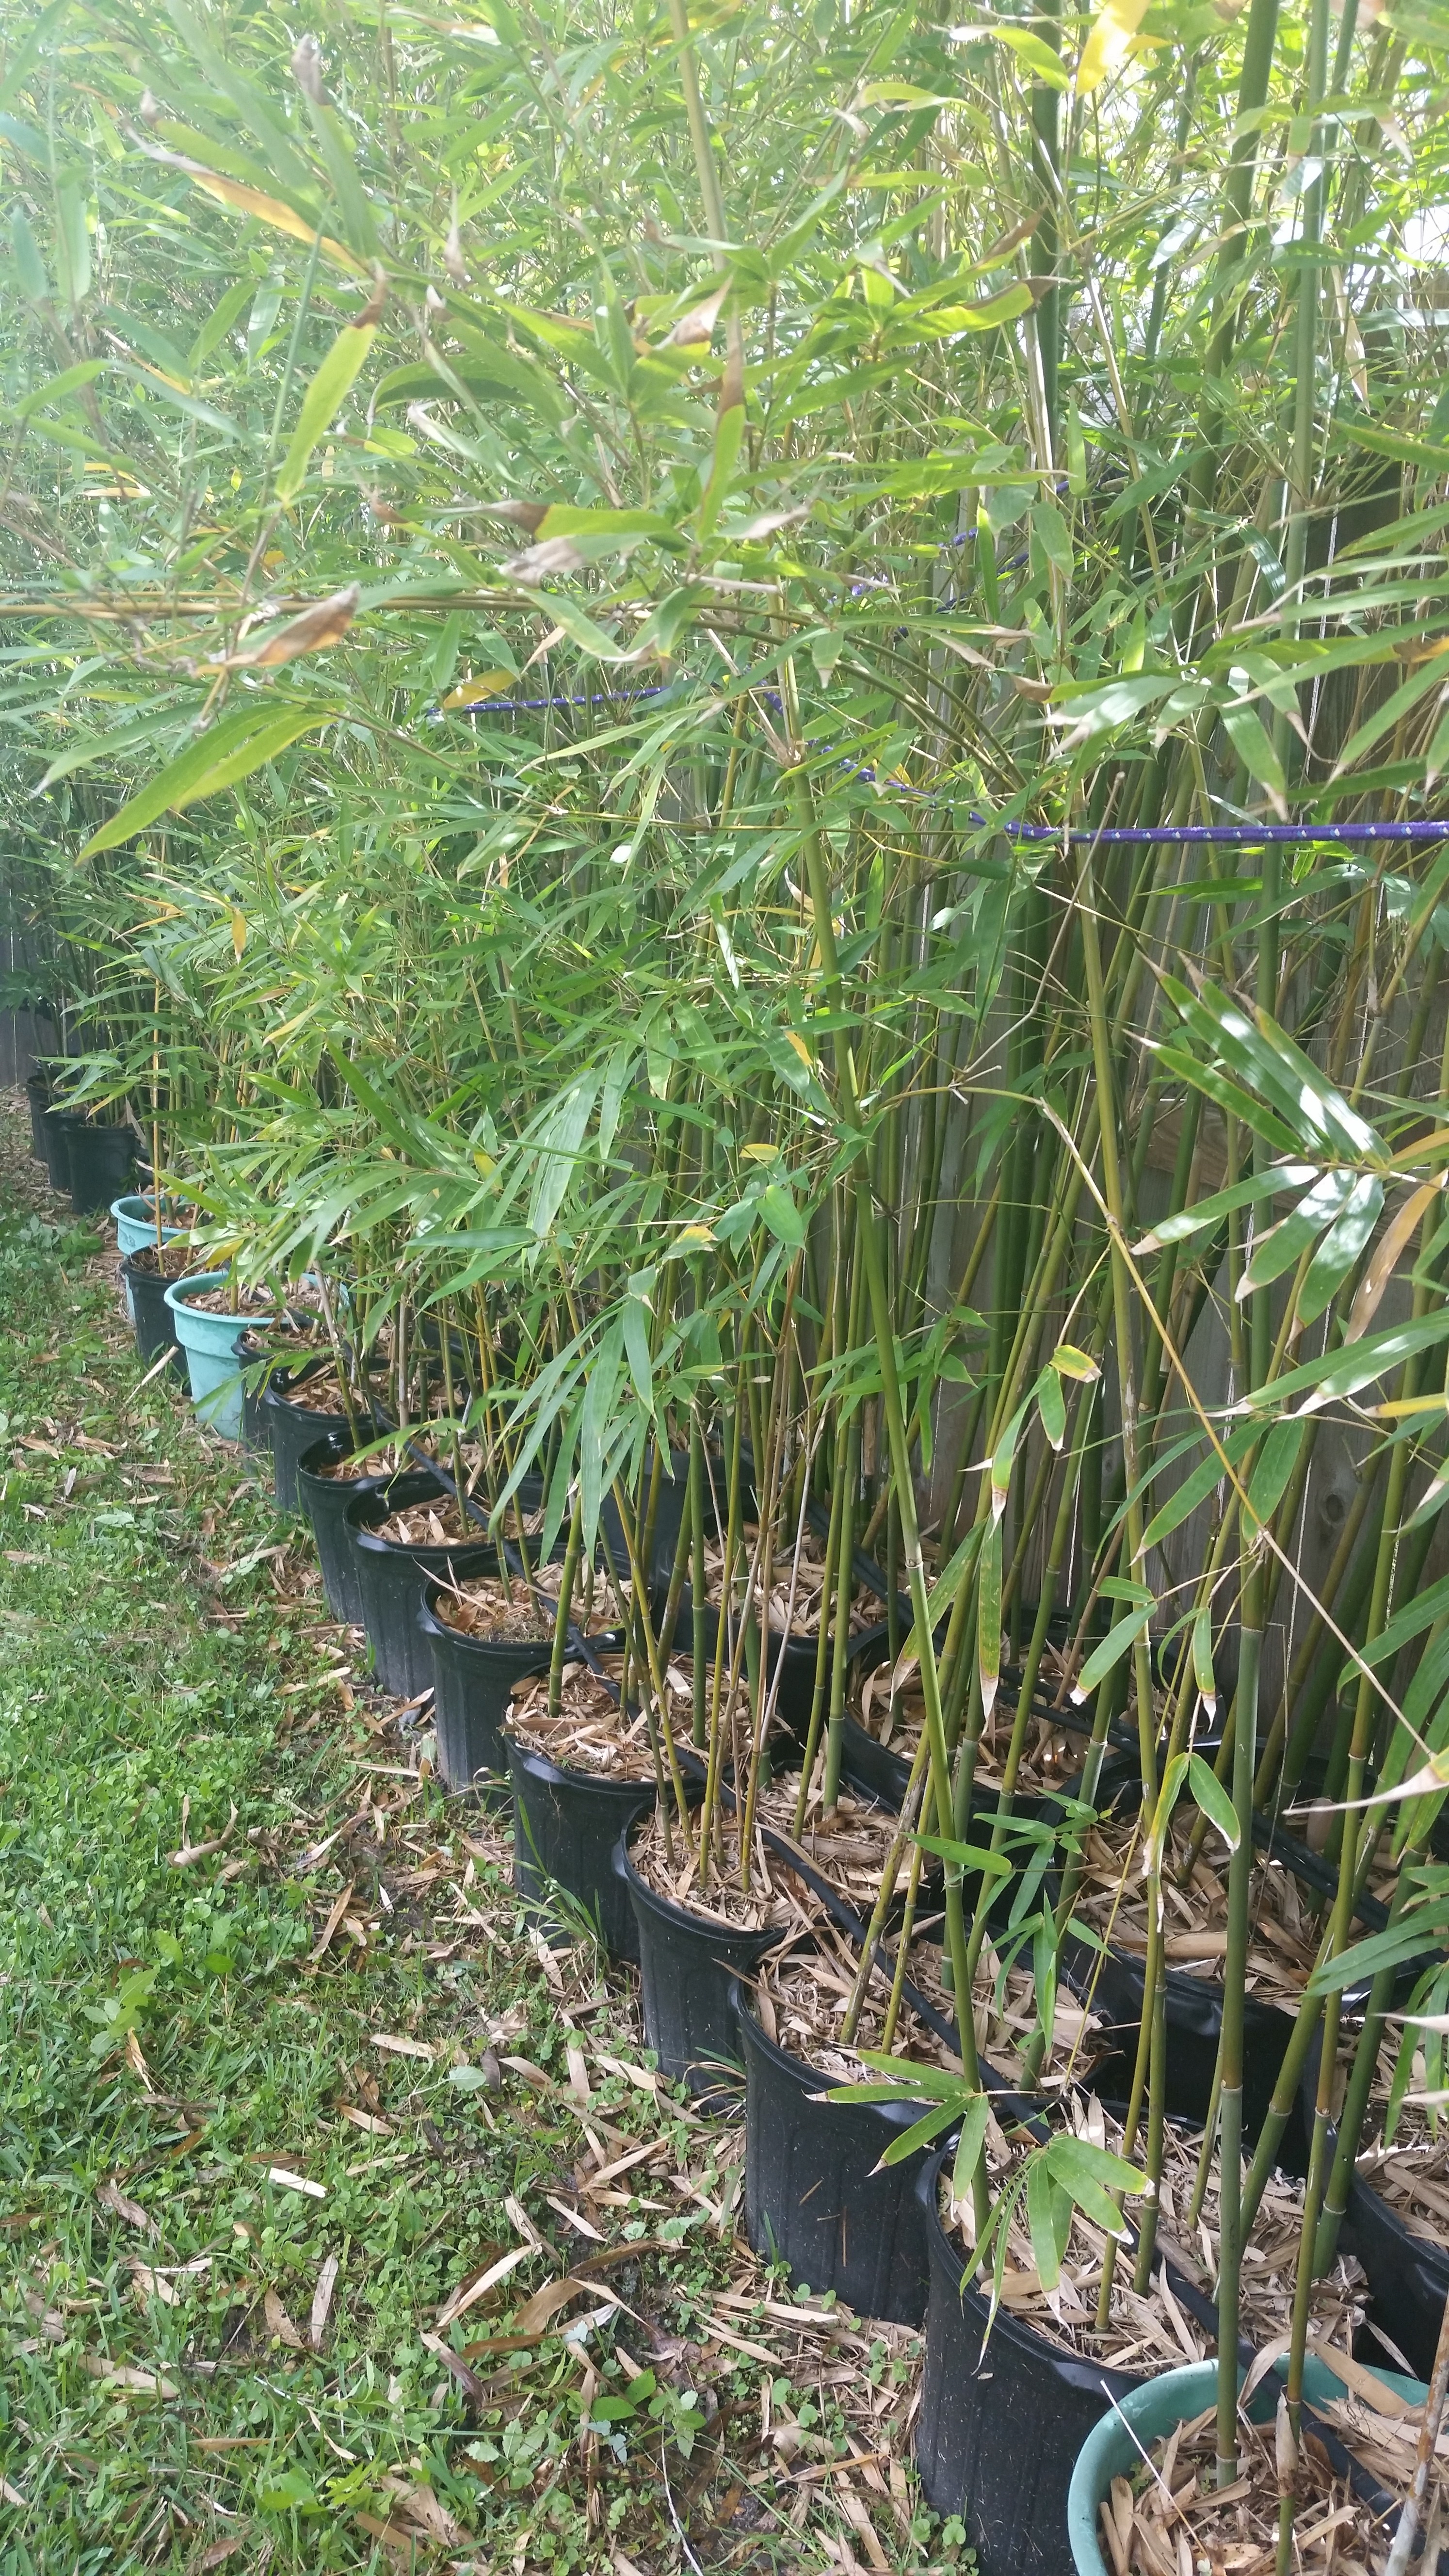 Weaver’s bamboo is clumping by nature, and is quite easily contained, so you won’t have to worry about it spreading. Also, it grows very thick and quite tall. It really is a spectacular variety of clumping bamboo, and can get quite pricey if you purchase them directly from a retail nursery. So, if you’re interested in buying a plant or 10 or even 100 of them, please message me, and I’d be happy to work something out with you.


